The Minox lenses in recent Minox cameras (late B’s onwards) have a resolution of over 160 lpmm (the earlier Complan lens, using a curved film plane are even higher). This is much higher even the very best 35mm lenses. To get the full benefit of this requires using a very fine grain film and developer. Some people use films like Agfa Copex or Rollei’s ATP with special low-contrast developers to get spectacular results. The main limitation to quality, then, is the ability to make sufficiently high-resolution scans. For this purpose dedicated film scanners such as the Nikon CoolScan family are much better than flat bed scanners.
The difficulty that I’ve found scanning on this scanner was how to hold the film sufficiently flat. It the film is allowed to curl then the scanner, when focused on the center of the frame, will blur the edges.
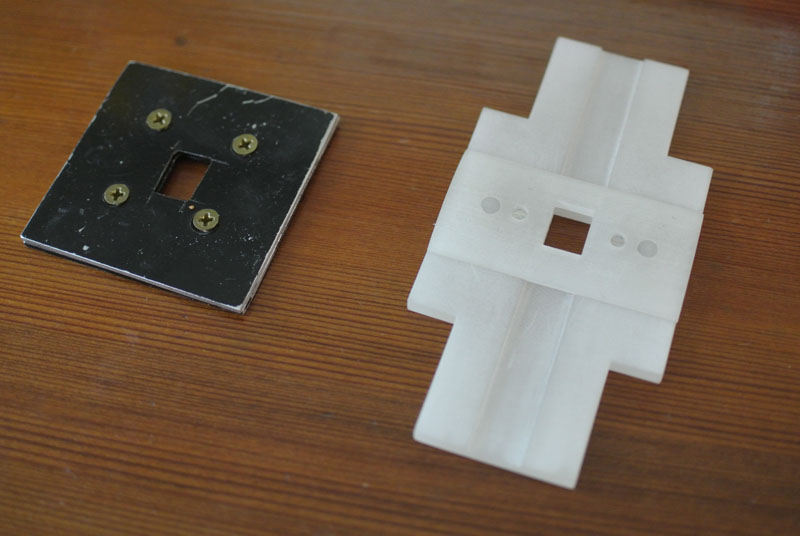
My first successful film holder was made from two pieces of 2mm thick aluminium sheet with an 8x11mm hole and screws to clamp the film, and fit in the slide adapter of the film scanner. It worked pretty well. Lining up the frame and clamping the film was a little awkward, but could be quite quick with practice.
Recently I decided to try to design a better holder, and this time have it 3d-printed by Shapeways. I decided to use some magnets to apply a small amount of pressure and bought some tiny 3mm magnets on Amazon.
I designed the two parts to fit together using FreeCAD, and very simple open source CAD program.
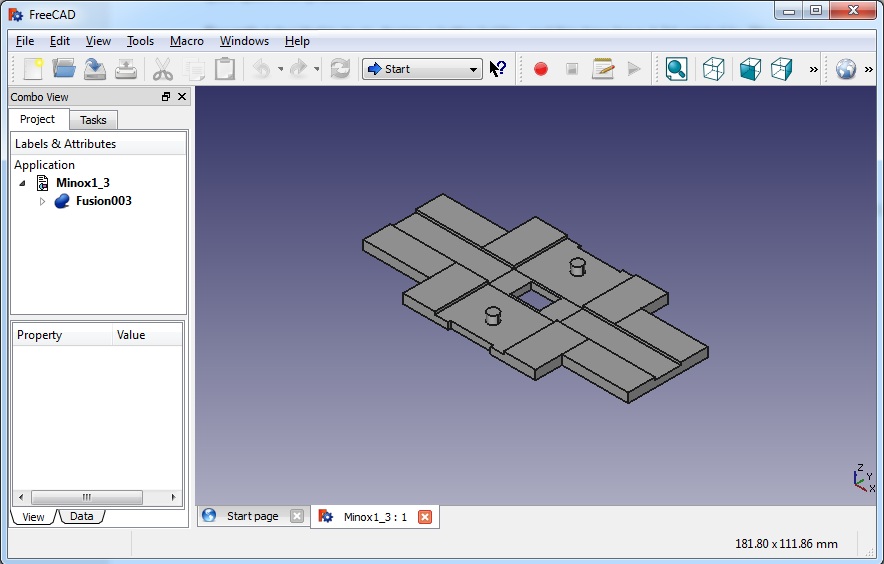
The top part I make slightly curved to avoid catching on the slide holder mechanism of the scanner but still be stiff enough.
 My first attempt at printing used Shapeways' basic plastic in polished finish. The surface came out nice and smooth, but the tolerances weren’t quite good enough, and, specifically the various measurements came out slightly small. So I tried again using their “frosted detail plastic” and making some adjustments. This time the dimensions were closer, but the surface of the plastic was a little rough. I found it could be made nice and smooth easily by using some very fine emory paper.
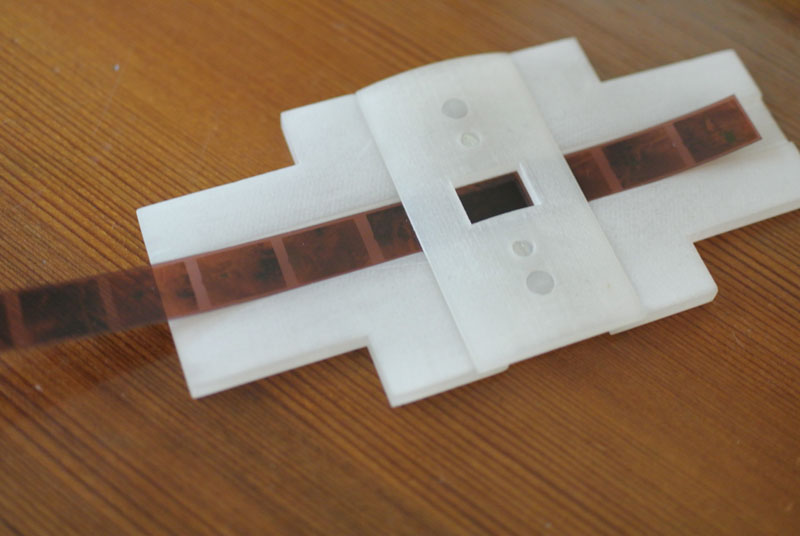
The minimum wall thickness allowed for this type of plastic is 0.5mm, which means that there’s 1mm of material separating the two magnets on each side. I wasn’t sure if the very tiny magnets would be sufficiently powerful to hold the two pieces together and to flatten film, but so far they seem to work for the films I’ve tried out. It might be necessary to use larger or more magnets for films with a lot of curl.
This is the new film holder next to my previous film holder:
This photo shows the two parts separately: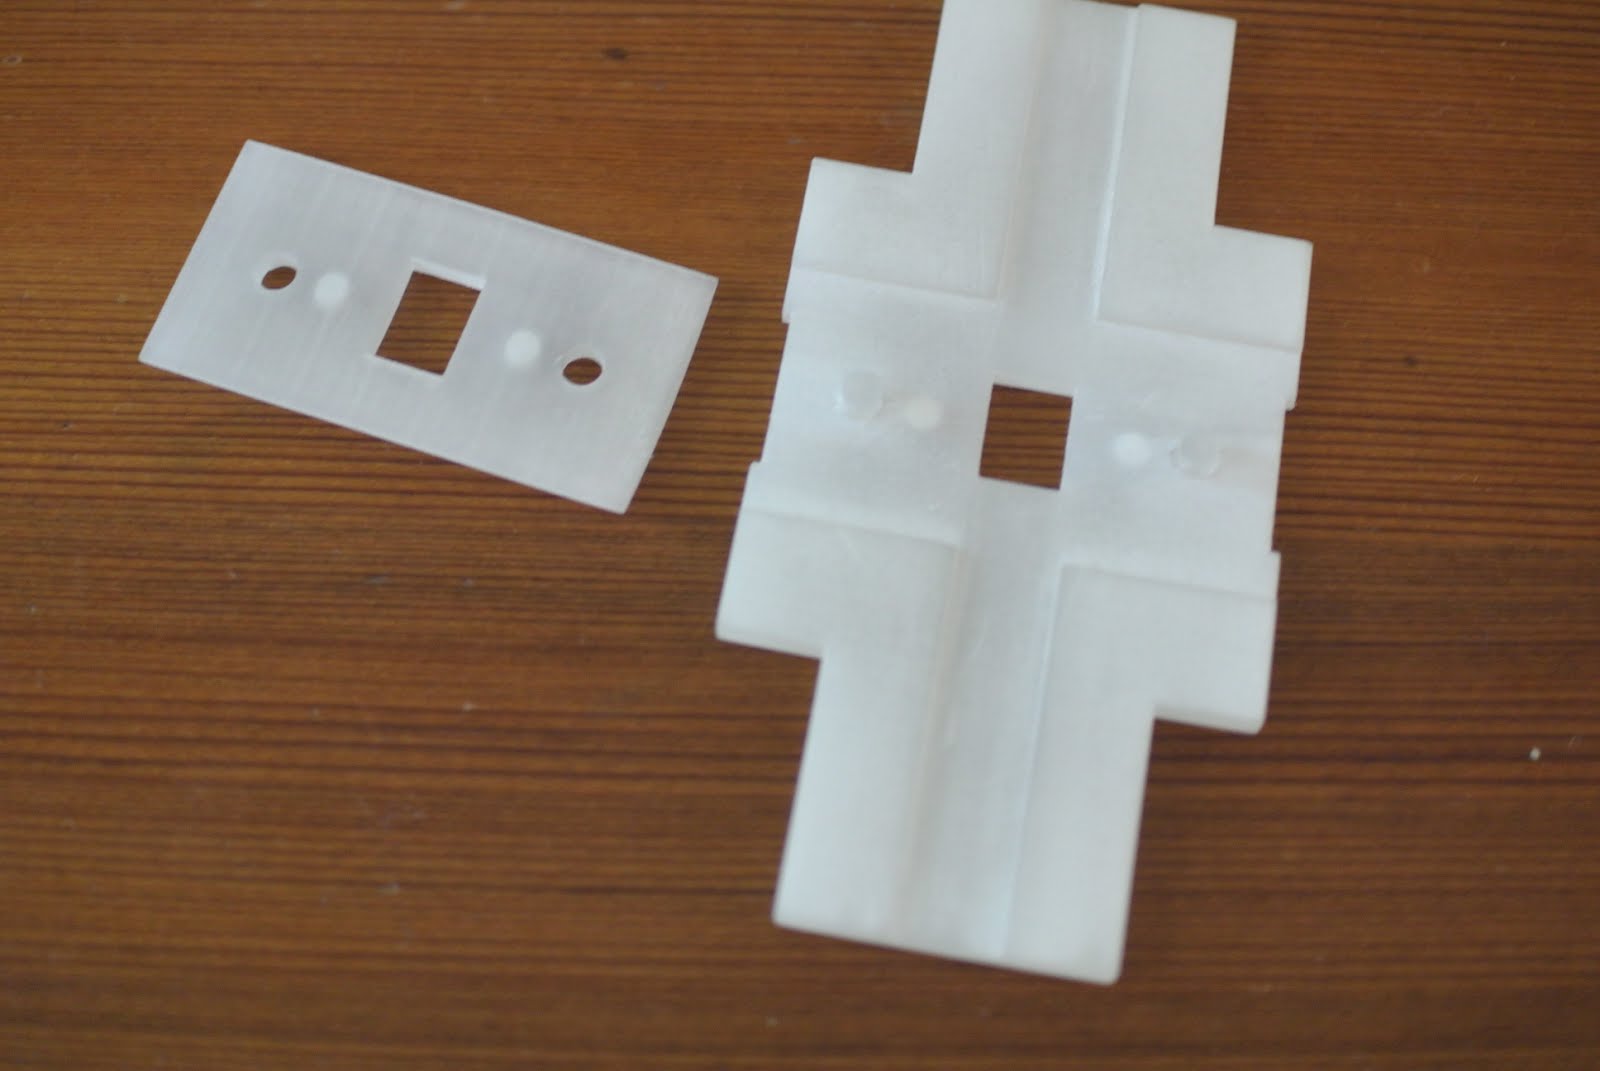
And finally seen here with a film in place: